Some of our most powerful instructional tools have been hanging around forever, just waiting for us to notice them.
One of those tools is the graphic organizer. It’s so simple—just a few shapes and lines, nothing fabulous, no bells or whistles—and yet beneath its simplicity lies an absolute dynamo, a vehicle that can cement learning more firmly than a lot of the other stuff we try, in a lot less time.
Let’s look at why graphic organizers are so powerful, explore some ways to use them that you may not have tried, and consider a few important tips for using them with the greatest impact.
According to Allan Paivio’s theory of dual coding, humans process information in both visual and verbal form. When we see the word “book,” we picture a book in our minds, because we’ve had plenty of real-life experiences with books. When we’re learning new words or concepts, it’s helpful to try to form mental images for those ideas to reinforce their meanings.
While some approaches like doodling and the mind’s eye strategy apply this theory by having learners create physical and mental pictures of concepts, a graphic organizer keeps the words, but arranges them on a page visually so we better understand how concepts are related. Decades of research with various age groups and in different content areas has shown that in general, when graphic organizers are incorporated into instruction, student learning improves (Hall & Strangman, 2002).
Graphic organizers also help us meet the needs of all learners. Presenting information in both text and graphic formats is one of the most basic ways to make a lesson accessible to more students—the basis of Universal Design for Learning—and graphic organizers definitely fit the bill there. In fact, much of the research on graphic organizers has focused on how powerfully they can impact the learning of students with learning disabilities and special needs (Dexter, Park, & Hughes, 2011; Douglas, Ayres, Langone, & Bramlett, 2011).
Have students use graphic organizers to take notes on their reading, when doing research, while watching a film, or while listening to a podcast. If you are already familiar with the content and how it’s structured, you might choose or design an organizer ahead of time for students, which research says can be more effective and efficient than having students create their own. (See the Tips section below for more information on this.)
Instead of giving a lecture with a standard PowerPoint or an outline, present your content in a graphic organizer. This will instantly give students a way to visualize how the concepts are related to each other. If students ever give their own presentations, have them try using graphic organizers to present their information.
Having students use graphic organizers to plan and structure their ideas before putting them into a draft is a common practice in English language arts classes. If you’ve never tried it, it’s worth adding this into your writing process, especially if you teach a content area where writing isn’t a regular part of student work. A warning: Do not treat the organizers as the writing piece; have students just jot notes down in these, rather than complete sentences. The bulk of student writing time should be spent actually drafting their piece.
When students do expository or argumentative writing, consider having them add a graphic organizer to their finished product to illustrate a concept in their piece. In this case, the organizer would NOT be a pre-writing tool, but a supportive diagram to aid in their own readers’ comprehension. This may not work for all topics, but if a student is writing about how bees make honey, for example, a diagram that shows the process from flower to honey would go a lot further to help the reader understand than a downloaded image of a bee hovering over a flower. As students create diagrams to support their own texts, they will be more likely to pay attention to those that appear in the texts they read.
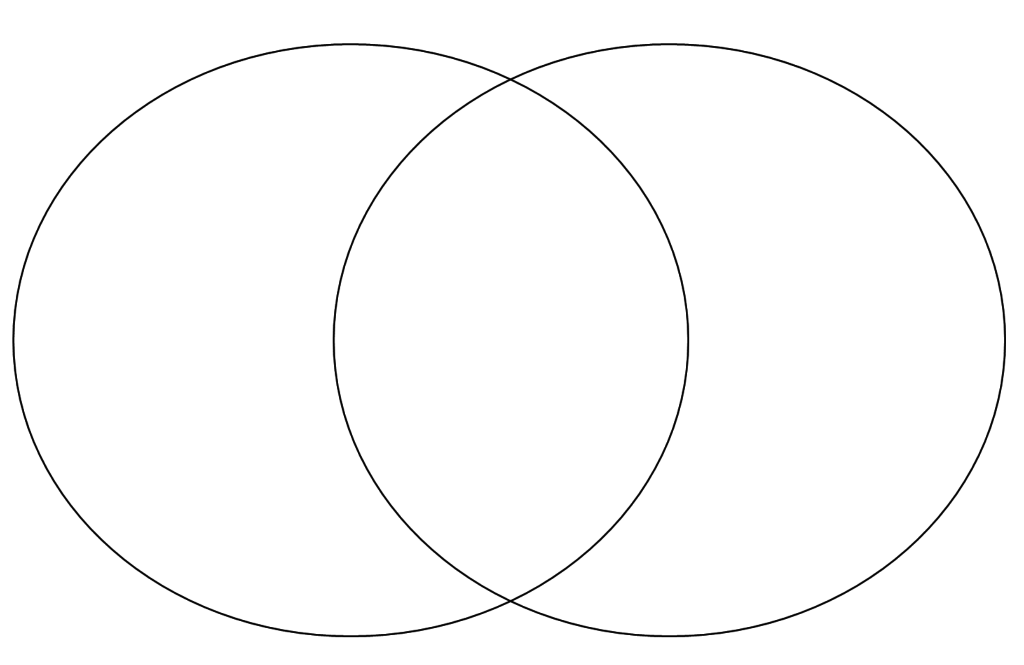
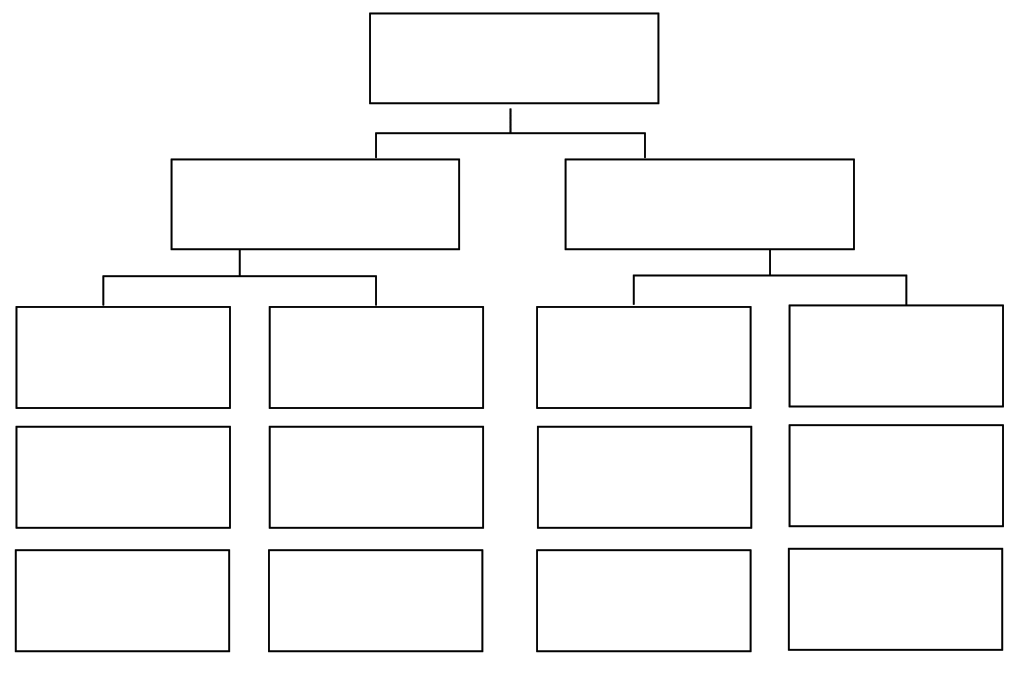
As students get older and are faced with more challenging texts, especially in content areas outside of English language arts, their comprehension gets a considerable boost if they are trained to identify the text structure prior to reading (Baxter & Reddy, 2007, p. 23). Some common text structures are compare and contrast, description, problem-solution, cause and effect, and sequence of events. Once the structure has been identified, students can complete a supporting graphic organizer while they read and fill in the components as they encounter them.
Another pre-reading graphic organizer is the KWL chart, which helps activate prior knowledge before reading and primes students to read with a purpose. KWL charts can work for any age group and can be used for single texts or at the beginning, middle, and end of an entire unit.
To read a comprehensive overview of research on graphic organizers as a reading strategy, see Manoli & Papadopoulou, 2012.
Instead of assessing student learning with a quiz, try having students complete a graphic organizer that shows the relationships between various terms or concepts, or use this type of activity as one question on a quiz or assessment. Although this will not work for all content, it might be just right for evaluating whether a student understands the bigger picture of a body of content.
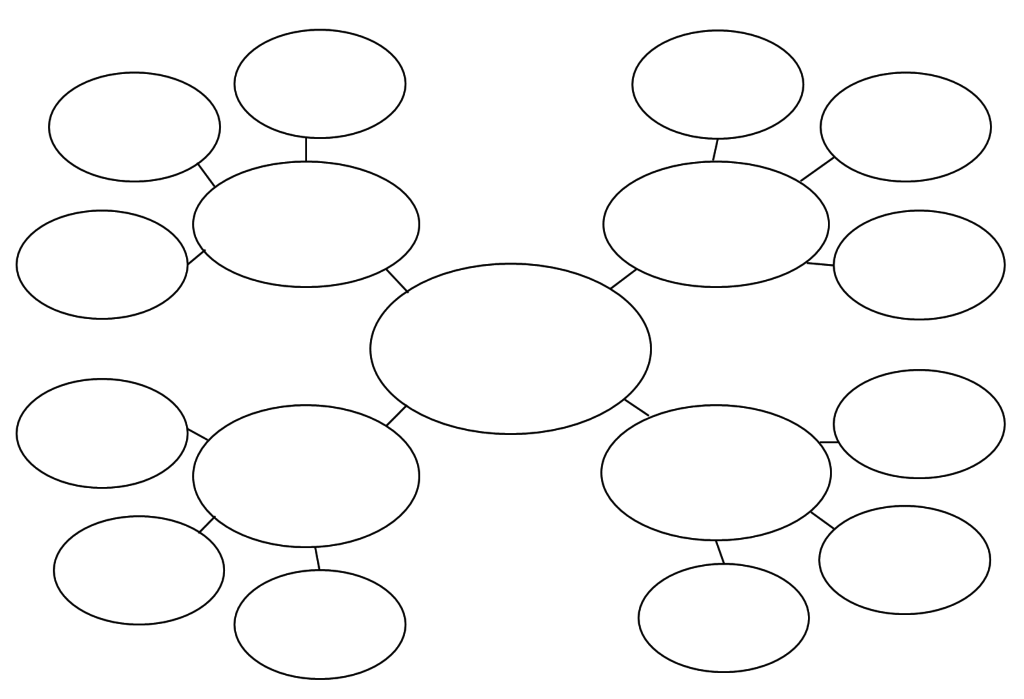
When we deliver content to students through lecture, readings, or video, our next step should be to have students interact with the content in some way. This can be accomplished with class discussions, lab work, or project-based learning. Another simple class activity that gives students a chance to grapple with the content is completing a graphic organizer: In groups, pairs, or even on their own, have students organize chunks of the content into graphic organizers, then compare their results to other groups. For example, if a foreign language class is studying vocabulary words for food, they could use a hierarchical organizer (like the one shown above) to organize “food” words into smaller groups, like meats, fruits, vegetables, and so on. This kind of sorting gives them more interaction with the terms and helps them work with similarities and differences, another powerful instructional strategy.
When introducing a unit to students, show them how the parts of the unit fit together with a graphic organizer. Not only will this give them a sense of where you are in the unit at any given time, it should also help them understand why they are learning the individual parts. Bonus: Doing this exercise yourself could help you decide what concepts are most important for students to learn, and identify other things that may be “nice to know,” but aren’t necessarily vital to student understanding.
Too often we hear “management” and think of dealing with problems, but a huge part of effectively managing a classroom is making your policies, procedures, and expectations crystal clear. Teachers often make signs listing class rules and procedures in writing, but putting the most important ones into graphic form will increase the likelihood that students will follow them.
Just recently we covered the power of retrieval practice to help students learn and retain information more effectively. One retrieval practice technique is called a Brain Dump, where students try to recall as much as they can about a given topic, without the aid of any supporting texts. After doing the dump, students are then allowed to check their texts to confirm, correct, or add to the information they retrieved. But if we added a step—having students sort their dumped information into some kind of graphic organizer, possibly even working in pairs to do so—then have them go to the text, it could further solidify the benefit of the retrieval and help them get very clear on where they have gaps in their knowledge.
My Graphic Organizer Multi-Pack contains 15 beautiful designs, all done on editable PowerPoints and Google Slides, so you can customize them to suit your needs. The pack also includes video tutorials that show you exactly HOW to customize them. Click here to get a pack for your classroom!
References:
Baxter, S., & Reddy, L. (2007). What content-area teachers should know about adolescent literacy. National Institute for Literacy. Retrieved from https://lincs.ed.gov/publications/pdf/adolescent_literacy07.pdf. PDF
Dexter, D. D., Park, Y. J., & Hughes, C. A. (2011). A meta‐analytic review of graphic organizers and science instruction for adolescents with learning disabilities: Implications for the intermediate and secondary science classroom. Learning Disabilities Research & Practice, 26(4), 204-213. PDF
Douglas, K. H., Ayres, K. M., Langone, J., & Bramlett, V. B. (2011). The effectiveness of electronic text and pictorial graphic organizers to improve comprehension related to functional skills. Journal of Special Education Technology, 26(1), 43-56. PDF
Hall, T., & Strangman, N. (2002). Graphic organizers. Wakefield, MA: National Center on Accessing the General Curriculum. Retrieved March 20, 2009. PDF
Manoli, P., & Papadopoulou, M. (2012). Graphic organizers as a reading strategy: Research findings and issues. Creative education, 3(03), 348. PDF
Robinson, D. H., Katayama, A. D., Beth, A., Odom, S., Hsieh, Y. P., & Vanderveen, A. (2006). Increasing text comprehension and graphic note taking using a partial graphic organizer. The Journal of Educational Research, 100(2), 103-111. PDF
Stull, A. T., & Mayer, R. E. (2007). Learning by doing versus learning by viewing: Three experimental comparisons of learner-generated versus author-provided graphic organizers. Journal of Educational Psychology, 99(4), 808. PDF
There’s more where this came from.
Join my mailing list and get weekly tips, tools, and inspiration—in quick, bite-sized packages—all geared toward making your teaching more effective and fun. You’ll get access to my members-only library of free downloads, including 20 Ways to Cut Your Grading Time in Half the e-booklet that has helped thousands of teachers save time on grading. Come on in!!